
- December 10, 2020
- Posted by: admin
- Category: Inspo
[column width=”1/1″ last=”true” title=”” title_type=”single” animation=”none” implicit=”true”]
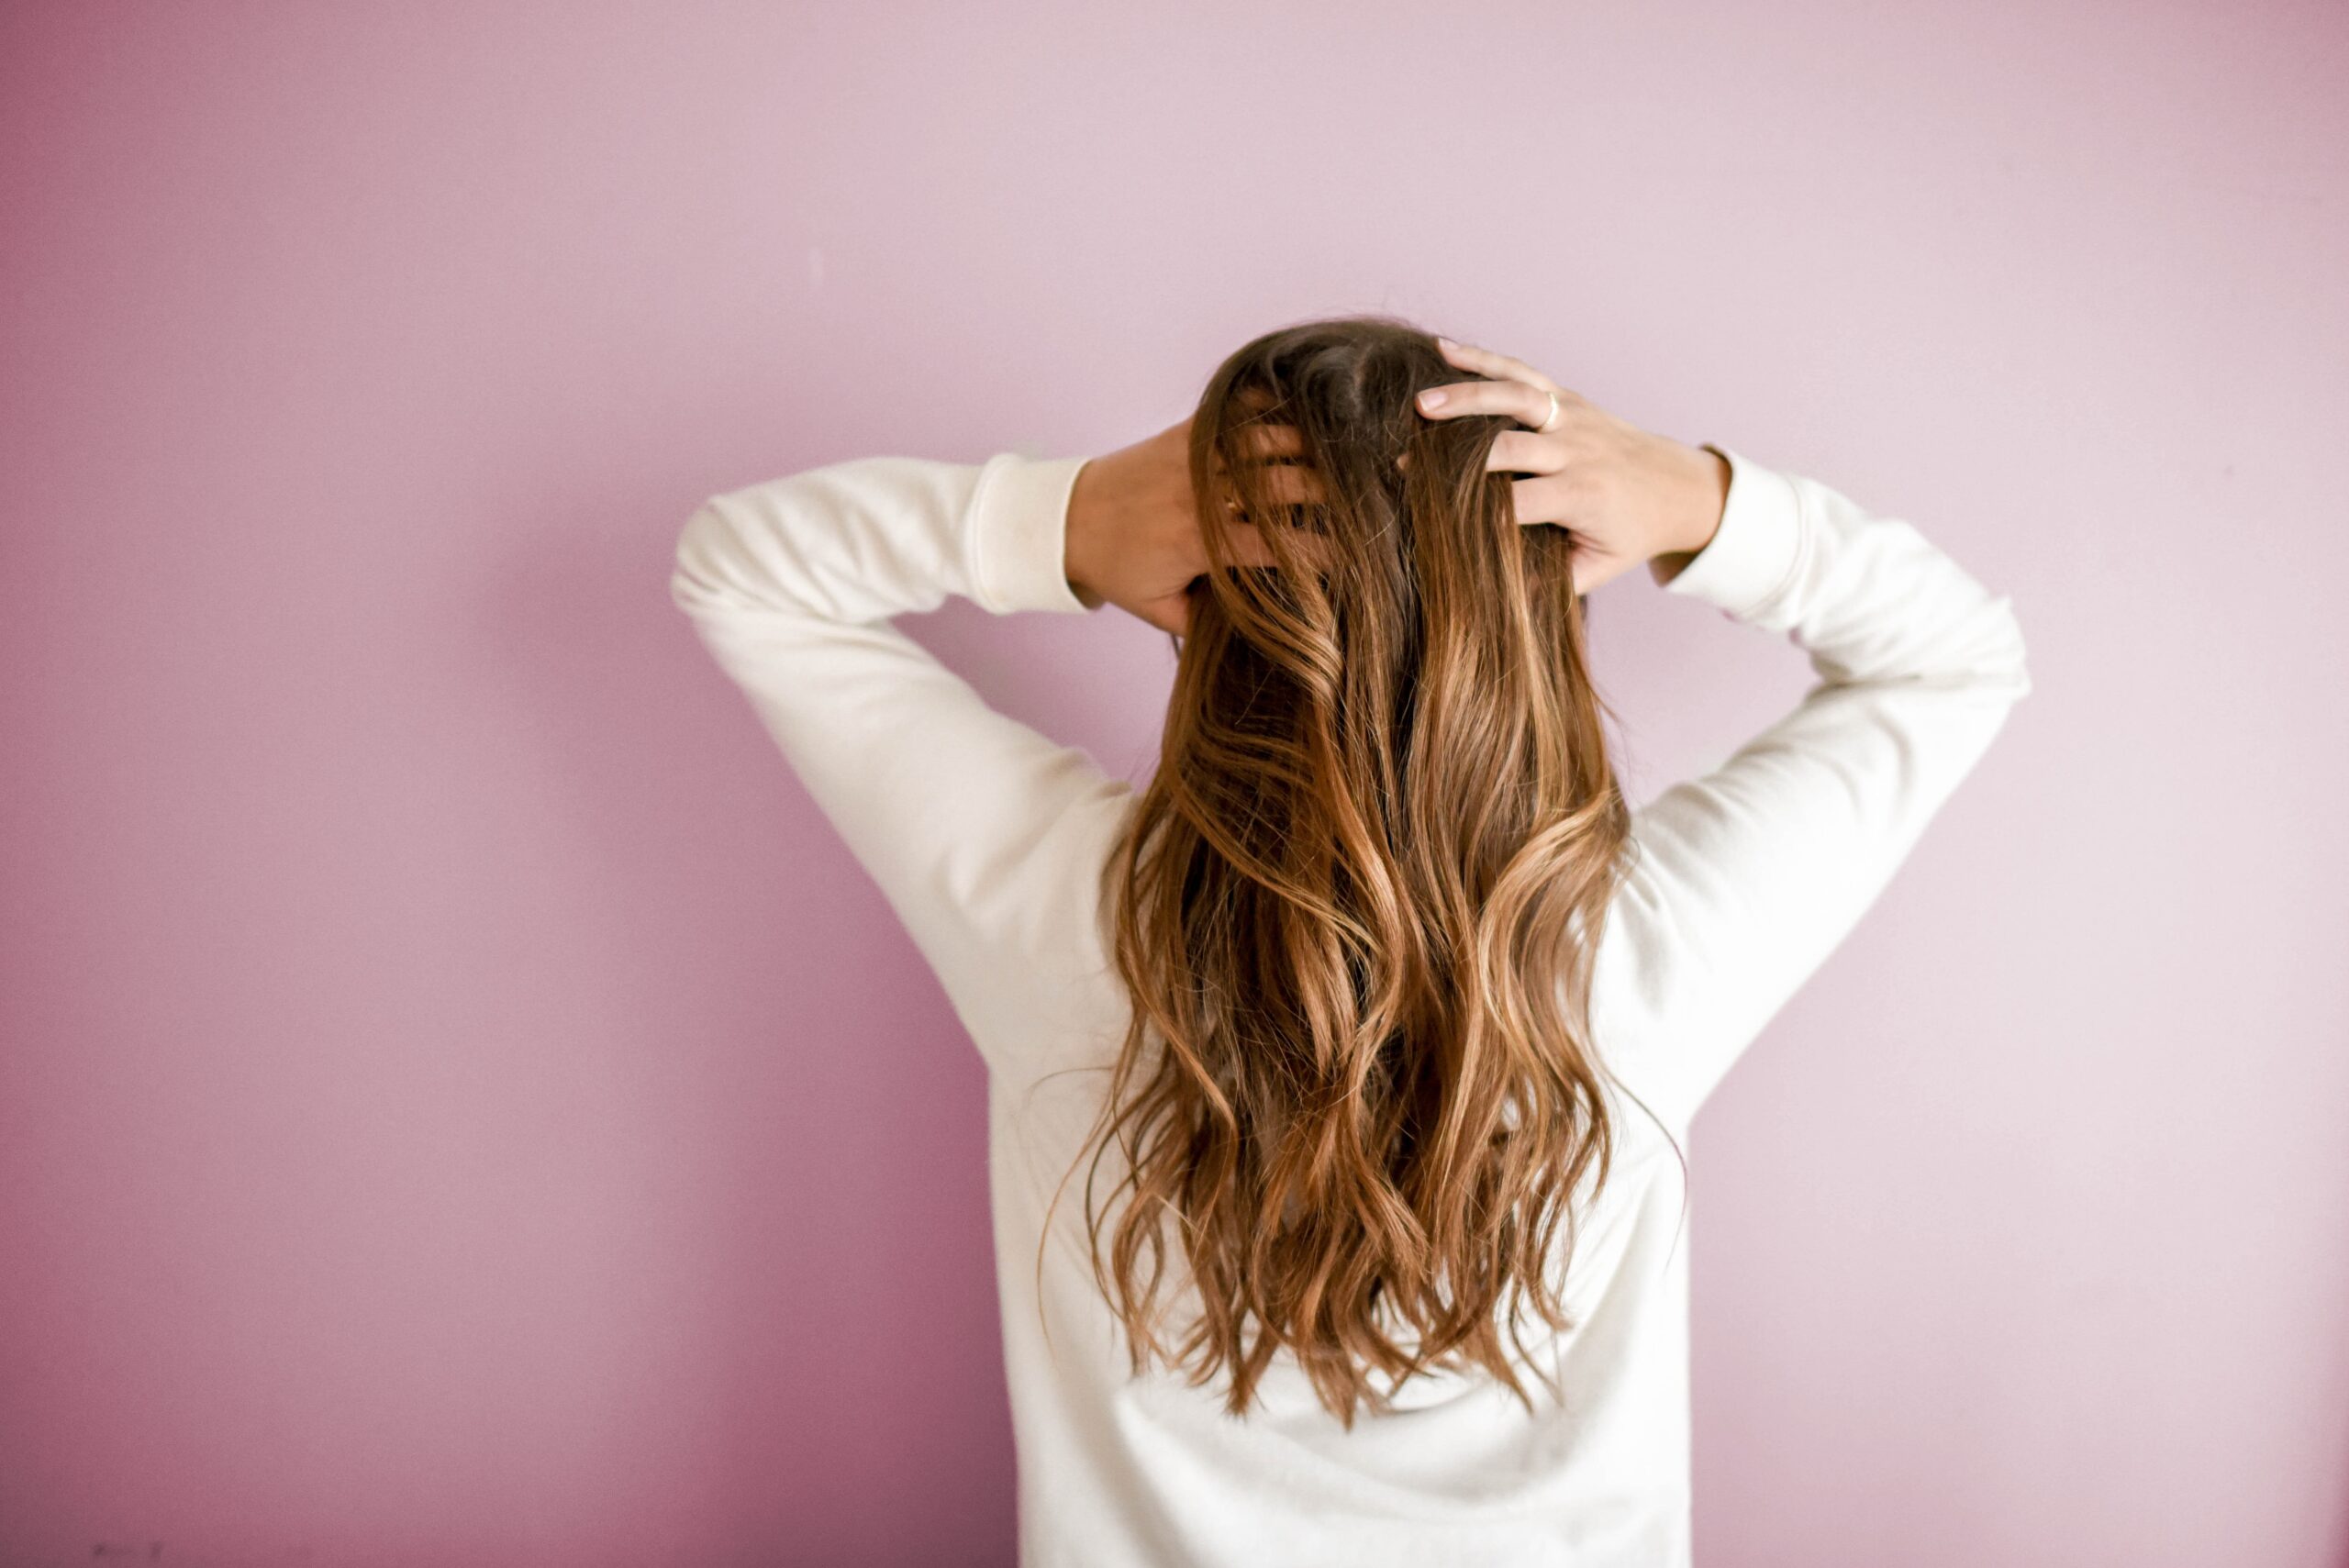
Below are some helpful tips and tricks on how to dye your hair at home!
1. Don’t Make Drastic Changes
If you are planning on changing your hair color more than three shades, it is best to go to the hair salon and consult with a hair dresser.
2. Choose the Right Shade
Take your time in picking a color. Finding a color based on your skin 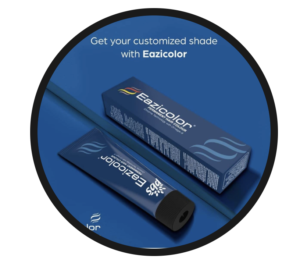 complexion is your best bet.
If your eyes are brown, blue, or hazel with blue or green flecks, you have a cool skin tone and should choose shades that are cool-toned as well – such as ashy brown, beige blonde, burgundy red, and blue-hued blacks. Cool skin tones usually look best in silver jewelry, so if you naturally gravitate to silver, this is you.
If your eyes are brown, blue, or hazel with brown flecks, your skin is likely warm-toned and you look best in gold jewelry. Choose hair colors that are similarly golden-toned, like golden brown, wheat-toned blonde, auburn red, and black with reddish tones.
Belini and EaziColor, provided by BIG, offers several shades within the tone.
3. Prep Your Hair
It is recommended not to wash your hair 24 to 48 hours prior to applying hair color. This allows the color to stay on the strands and penetrate better. Change into an old shirt then part your hair into your usual style. This allows you to see the color on top once applied.
4. Gather Your Tools
Gather your tools prior to applying color so you’re not struggling to look for things while your color is processing. Here are some of the things you need:
- Box of Hair Color. There are various hair colors that BIG has in stock for you. Check out the cosmetics tab to browse through the various options for both men and women.
- Plastic Gloves. These come in the hair color box.
- Petroleum Jelly. Rub it along your hairline to prevent staining your skin. If you’re out of petroleum jelly, any thick lotion works.
- Comb. Can be purchased from local stores.
- Hairdresser Clip. These are the long clips your hairdresser uses to hold your hair up when styling. You can get a pack of six for around $2 in the hair aisle of a drugstore, big box store, or beauty supply store. It allows you to focus on saturating sections with color before moving onto the next area.
- Dye Brush. Some of the box kits provided by BIG comes with a hair coloring brush. However, if the package doesn’t and you don’t have a brush at home, you can buy it at beauty supply stores. It’s not recommended to use your hands to apply color as the consistency can’t be controlled.
- Timer. Any kind can get the job done.
- Conditioner. If dying your hair black, brown, or red, choose a conditioner that’s gentle on colors – those are the first shades to fade and a color-safe conditioner can help preserve them.
Once you have your tools ready, it’s time to do the strand test.
5. Do a Strand Test
While it may seem like one of the less important steps, don’t make the mistake of ignoring the strand test. It tells you exactly how the hair dye looks on your hair and allows you to adjust processing times accordingly. Just grab a half-inch section of hair that’s not typically visible like behind your ear and apply the dye and wait the amount of time prescribed on the box. Then rinse it off in cool water.
Dry your strand and assess: Do you like the color? Are the results too subtle, requiring extra processing time? If so, add an extra 5 to 10 minutes, since some people’s hair takes color faster than others. If you’re happy with the test, proceed. If you hate it, be thankful you didn’t do your entire head.
6. Apply the Color
If you’re just touching up your roots, load up your dye brush and start there. If you’re coloring all over, apply it first to the hair that’s visible when it’s combed into your usual style and then move onto the bottom layers.
This is where your dye brush comes in handy. Brush the dye as close to the roots as possible, and then drag the color down the length of your hair while it’s flat on your head. Continue the process until the entire first layer is saturated. Then, use your hairdresser clip to separate the first inch of the top section and continue the process on the next layer.
Once your head is completely covered, set your timer as prescribed in the color instructions. Hair dye is potent for about 90 minutes after it’s mixed, so you don’t need to hurry the process. Being patient results in even, saturated color instead of splotches and an uneven hue.
7. Add Heat
Some hair is more resistant to color than others. If you have thick hair or you’re going lighter than your natural hair color, adding heat can help improve dye penetration for better results. You can use a hairdryer for heat.

8. Rinse and Condition
Once your timer goes off, rinse out the color without using shampoo. It may be tempting to just wash it out over the sink, but you could end up leaving color in your hair, which is highly damaging.
Instead, hop in the shower so you can wash thoroughly. Add water and scrub your hair with your fingertips as if you’re shampooing. Then, rinse it out and watch the water until it runs clear. Finally, finish up with a good-quality conditioner. You can also check for dye drips on your skin. If you notice some, use an exfoliating cream and they should come right off.
9. Style and Assess
Lastly, style your hair as usual and assess the results. Don’t make any quick judgements when your hair is still wet, since water makes your hair look darker than it really is.
[/column]